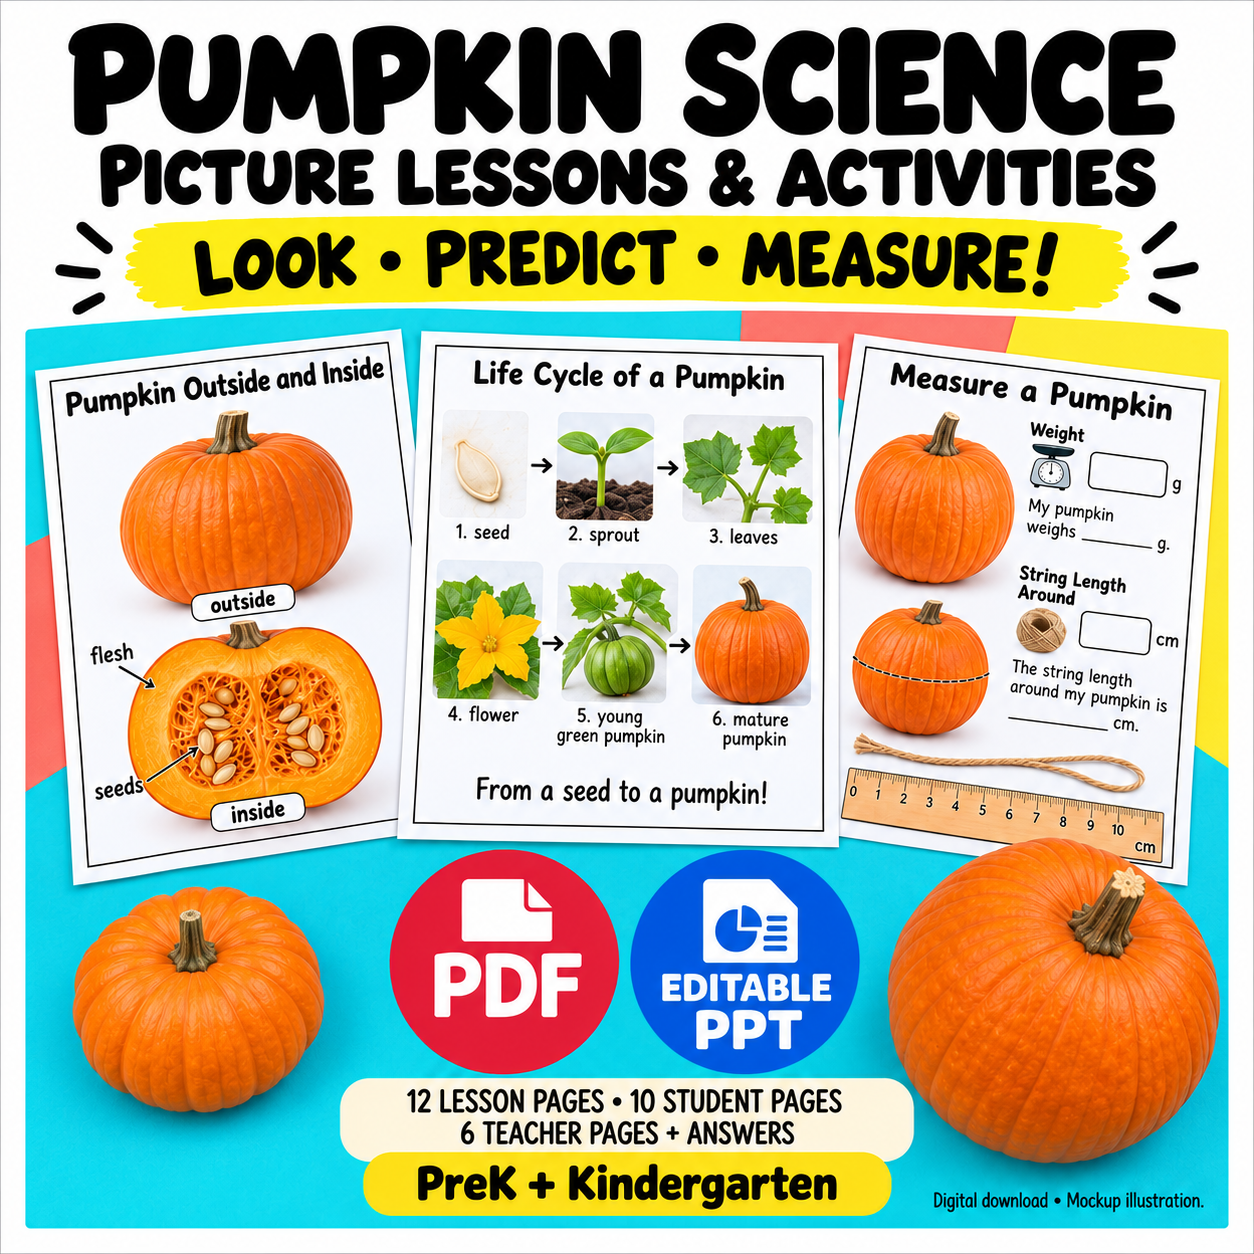
Pumpkin Parts Activity for Preschool: Outside and Inside
Start a pumpkin parts activity by showing the whole fruit before revealing its inside. Ask children to draw one outside detail, then add one detail from an adult-prepared cut view. The aim is a supported observation: “I can point to the part I drew.” Naming every part from memory can wait.
This routine suits PreK and Kindergarten. It can be taught with a pumpkin, paper and crayons; the optional picture resource provides coordinated images and response materials. Plan two brief rounds so children have time to look before answering.
In this guide
Set up two views of the same pumpkin
Place a sound whole pumpkin on a stable tray. Adults prepare the cut view and handle sharp tools away from children. If cutting is unsuitable, use an identified inside photograph or illustration beside the real fruit. Tell children which view is real and which is a picture.
Make a recording page with two large spaces labeled Outside and Inside. Those labels describe where a detail was observed. They are not a demand to draw a complete scientific cross-section.
Ask for evidence before supplying labels
Invite children to point to the stem, a ridge or the outer surface. Ask, “Where does that detail belong in your drawing?” Add words such as stem and rind after the feature is located. Avoid defining pumpkins by orange color: varieties differ, as illustrated in Illinois Extension’s pumpkin varieties guide.
After showing the cut view, draw attention to flesh and seeds. A seed visible in one photograph is evidence about that view, not an exact count for every pumpkin. Keep the number question separate from identifying a part.
Use a short outside-inside conversation
- “Can we see this before an adult opens the pumpkin?”
- “Show me something we could see only in the inside view.”
- “Which mark in your drawing shows that part?”
- “What could you add so a partner understands your drawing?”
If a child names a part incorrectly, return to the object: “You said seed. Let us find the seeds in this view.” Give another chance to point instead of turning the conversation into a rapid vocabulary test.
Make the drawing carry one useful detail
Model an incomplete sketch with an outline and a stem. Say what the marks stand for. Children then choose their own detail. Accept an adult-written label, a gesture or dictated explanation. A child who dislikes touching the inside can look from a comfortable distance.
Compare the drawing with the fruit while it is still available. Ask whether the observation is visible in the drawing. Do not grade orange coloring, neatness or resemblance to an adult sample as scientific accuracy.
| Child response | Adult follow-up |
|---|---|
| Points to a ridge | Invite a line showing its direction |
| Draws several seeds | Ask which view supplied that detail |
| Says “It is wet” | Ask whether that came from looking or touching |
| Leaves a space blank | Offer pointing and dictation before adding more instructions |
Finish with a partner explanation
One child points to a drawn detail and the partner finds the corresponding feature in the object or picture. Switch roles. Stop after one successful connection if attention is fading. A second session can add another part without requiring everyone to finish an elaborate diagram.
For the next investigation, move to pumpkin observation journals, where children keep a question, drawing and explanation together.
Optional coordinated picture materials
Pumpkin Science Picture Lessons and Activities is the related paid English resource. Its 12 picture lesson pages, 10 student pages and 6 teacher pages are supplied in PDF and matching PPTX; duplicate formats count once. It covers more than this particular routine. Extract the ZIP and prepare real materials separately. This article’s conversation sequence is a teaching suggestion, not a report of a classroom trial.