Pumpkin Life Cycle Picture Talk for Kindergarten
Teach a pumpkin life cycle with a picture conversation that connects a seed to a growing plant and its fruit. Ask children to arrange growth stages and explain one connection. A sequence of pictures is a model; it is not a calendar of how fast your classroom plant will grow.
This guide is for adults teaching PreK and Kindergarten. Use clearly identified growth images, a mature pumpkin if available, and paper for a simple sequence drawing. Keep the focus on order and explanation rather than memorizing a fixed number of days.
In this guide
Connect the fruit to the plant
Begin with the pumpkin children recognize. Ask, “Where did this grow?” Show the vine in the growth pictures, then trace backward to an earlier plant and seed. Returning to a familiar fruit gives the sequence a concrete anchor.
For teacher background, Illinois Extension’s pumpkin growing guide describes vining plants, flowers and fruit production. Use it to prepare the science explanation; do not turn horticultural timings or planting advice into a promise about your classroom conditions.
Present a manageable sequence
Show seed, sprout or seedling, leafy vine, flower, young fruit and mature fruit. Explain that these pictures highlight selected changes. A growing vine can carry leaves, flowers and developing fruit at the same time; stages in a teaching sequence do not mean every earlier feature disappears.
Ask a child to locate two pictures that can be connected. “The small plant grows leaves” is a useful explanation even if the child does not yet sequence all images independently. Offer two choices before presenting the whole set again.
Give the flower a place in the explanation
Do not jump directly from leaves to a large pumpkin. Include the flower and the young fruit. For a brief explanation, say that after pollination a female flower can develop into a fruit. Not every flower becomes a pumpkin. Keep detailed flower comparisons optional rather than expecting children to infer them from a generic drawing.
A child may ask why the young fruit in a picture is green. Explain that the image shows one example. Color and timing differ among varieties; the sequence is not proof that every pumpkin must look exactly like the picture.
Separate picture evidence from plant evidence
Use two statements on a classroom chart:
- “The picture shows ___.”
- “Our plant today shows ___.”
If you have no growing pumpkin plant, use the first statement honestly. If you do have one, add a date and draw only what is visible. A sprout without a flower is worth recording. Do not fill in a flower because it is the next picture in the model.
Check understanding through a missing connection
Lay out a short sequence with one gap. Ask what kind of picture would help explain the change. Let children draw or describe the missing stage, then compare with the model. The purpose is the connection between events, not a spelling quiz.
| Prompt | What to listen for |
|---|---|
| “Where does the seed belong?” | A connection to a new plant |
| “Which picture shows the vine?” | Attention to leaves and spreading growth |
| “What belongs before the large fruit?” | A young fruit or flower connection |
| “Did we watch all this happen today?” | A distinction between model and observation |
Continue with one real observation
Use the pumpkin parts activity to examine the mature fruit, or begin a dated plant journal when suitable growing conditions are available. Do not wait for a full growing season before allowing children to discuss what pictures can tell them.
Optional growth pictures and student materials
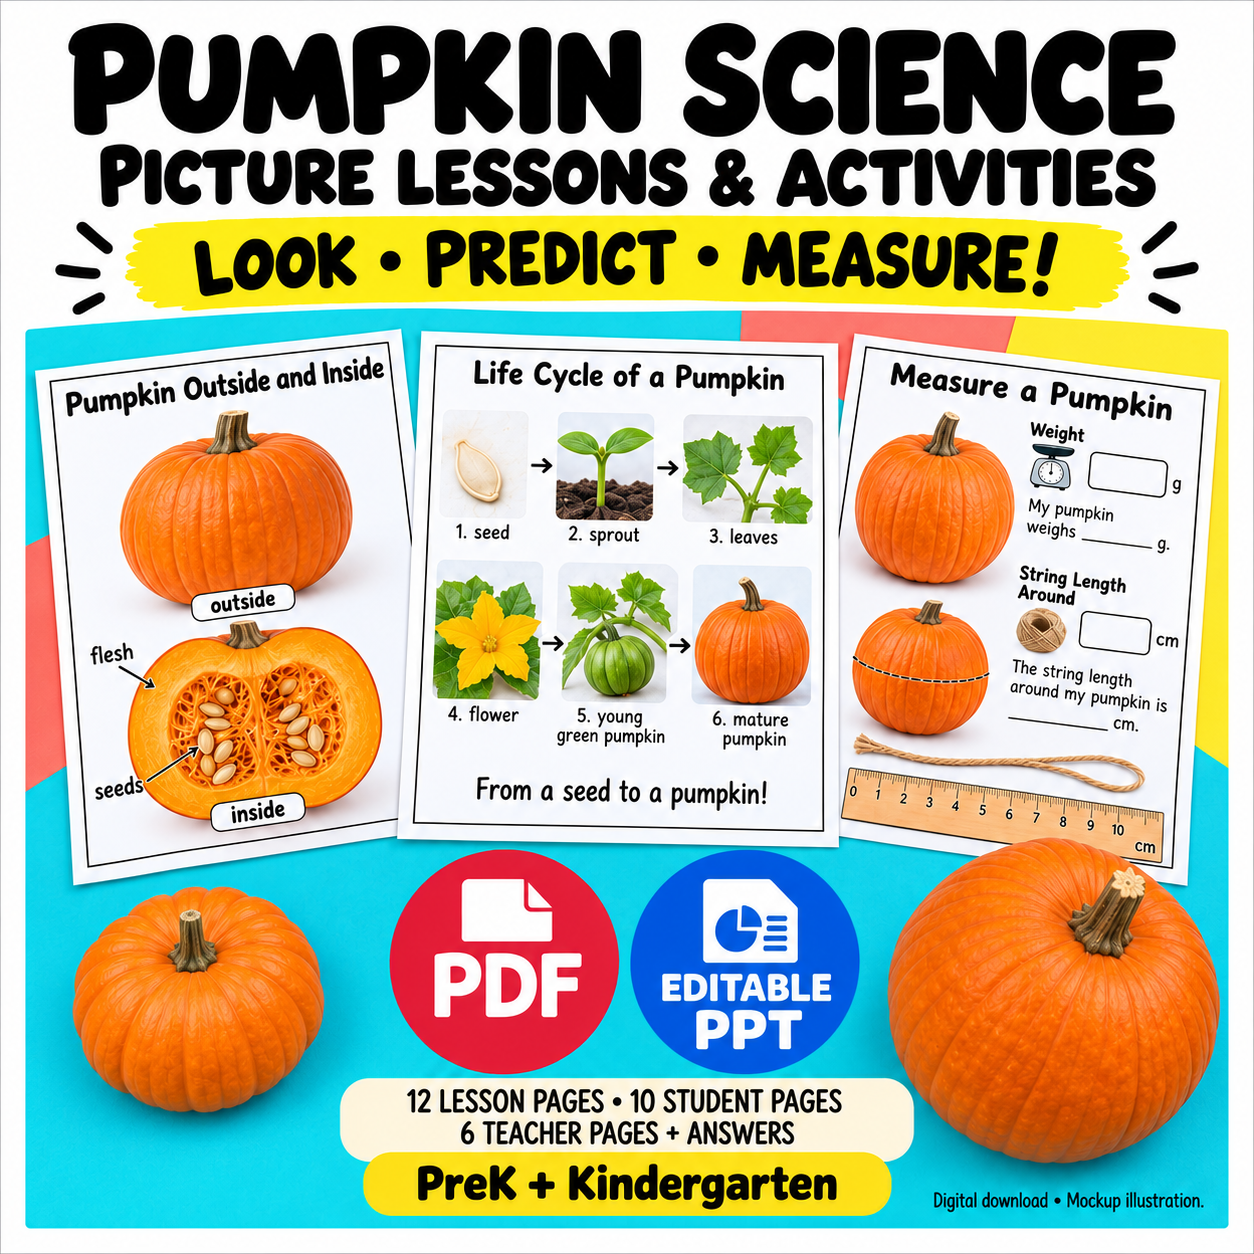
Pumpkin Science Picture Lessons and Activities supplies English picture lessons and student responses in PDF and matching PPTX, with teacher guidance. The paid resource includes growth alongside parts and measurement; it does not include seeds, growing equipment or a live plant. Extract the ZIP and check your chosen pages before teaching. This guide proposes discussion prompts rather than reporting tested learning outcomes.