A Pumpkin Observation Journal Children Can Explain
A pumpkin observation journal can begin with one dated drawing and one sentence dictated by the child. Add a question only after the child can point to something in the drawing. The journal should preserve what the child noticed, not just display a polished pumpkin picture.
Use this routine with Kindergarten or adult-supported PreK learners. Plain paper is enough. A prepared student page can help organize responses, but the evidence comes from the pumpkin or clearly identified picture children actually examine.
In this guide
Give each entry one question
Choose a narrow focus: “What can we see outside?” or “What did the scale show?” Put that question above the drawing space. Avoid asking for parts, a life cycle, a prediction, several measurements and a reflection on the same small page.
Write the date and identify the pumpkin, for example A. If the subject changes, record that change. Two drawings of different pumpkins are a comparison between specimens, not evidence that one pumpkin changed overnight.
Model looking back and forth
Draw a short mark, look again at the object, then add another mark. Say, “I am checking where the stem meets the fruit.” Children see how observation affects drawing. Avoid supplying a perfect finished picture for everyone to copy.
A child may use a large curve for a ridge or a few ovals for visible seeds. Ask what each mark represents. Adults can write the explanation in the child’s words; independent spelling is not the goal of this science task.
Keep three kinds of statements distinct
| Entry type | Example frame | What makes it useful |
|---|---|---|
| Observation | “I can see ___.” | Refers to a visible feature |
| Prediction | “I think ___ will happen.” | Written before checking |
| Measurement | “The scale showed ___.” | Gives a tool reading and unit |
A prediction is not a mistake to remove when the result differs. Keep it beside the later evidence. For a tool-based entry, use the pumpkin measurement station and record the actual reading rather than a sample answer.
Make a second entry worth comparing
Return with a new view or question. For example, compare an outside drawing with an adult-prepared inside view. Label the views so children do not imply that the inside appeared through ordinary growth during the session.
If revisiting over days, adults check the pumpkin’s condition and stop handling deteriorating material. Do not keep a rotting specimen available to children simply to obtain a dramatic journal picture. A dated photograph can preserve the observation without continued access to the specimen.
Use a short journal conference
Ask the child to select one entry and finish: “I drew ___ because I noticed ___.” Let them point while speaking. Then ask one follow-up: “Where could I look to check that?” A real part, an identified picture or a recorded reading is a reasonable answer.
If the explanation is unclear, offer another look and a chance to add a mark. Do not rewrite every response in adult scientific language. Keep the child’s account and add a teacher note separately when clarification matters.
Choose a stopping point and a next question
A journal entry is complete when a child can connect one mark to evidence. More coloring is optional. Collect one new question for a later session, such as what is inside or which pumpkin is heavier. This makes the journal a starting point for inquiry instead of a checklist of pages to finish.
Optional recording materials
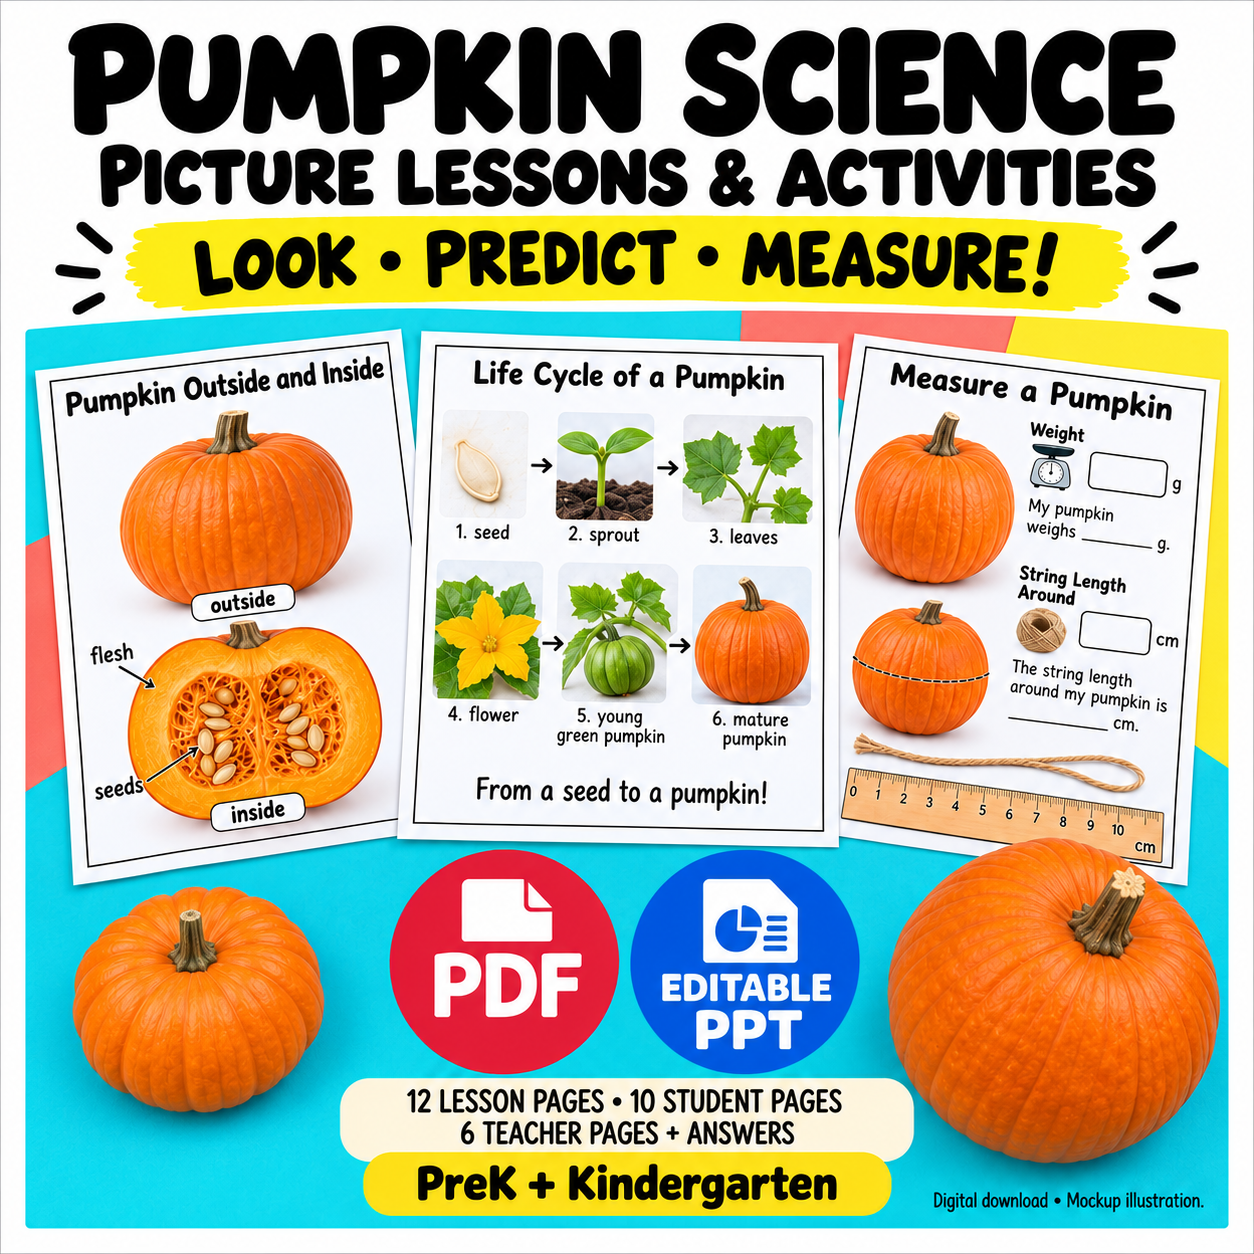
Pumpkin Science Picture Lessons and Activities is the related paid English resource. It has 12 lesson pages, 10 student pages and 6 teacher pages in PDF and matching PPTX. It includes coordinated response materials, but this particular journaling sequence is an editorial suggestion. Real pumpkins, measurement tools and adult preparation are separate; extract the ZIP before opening the files.