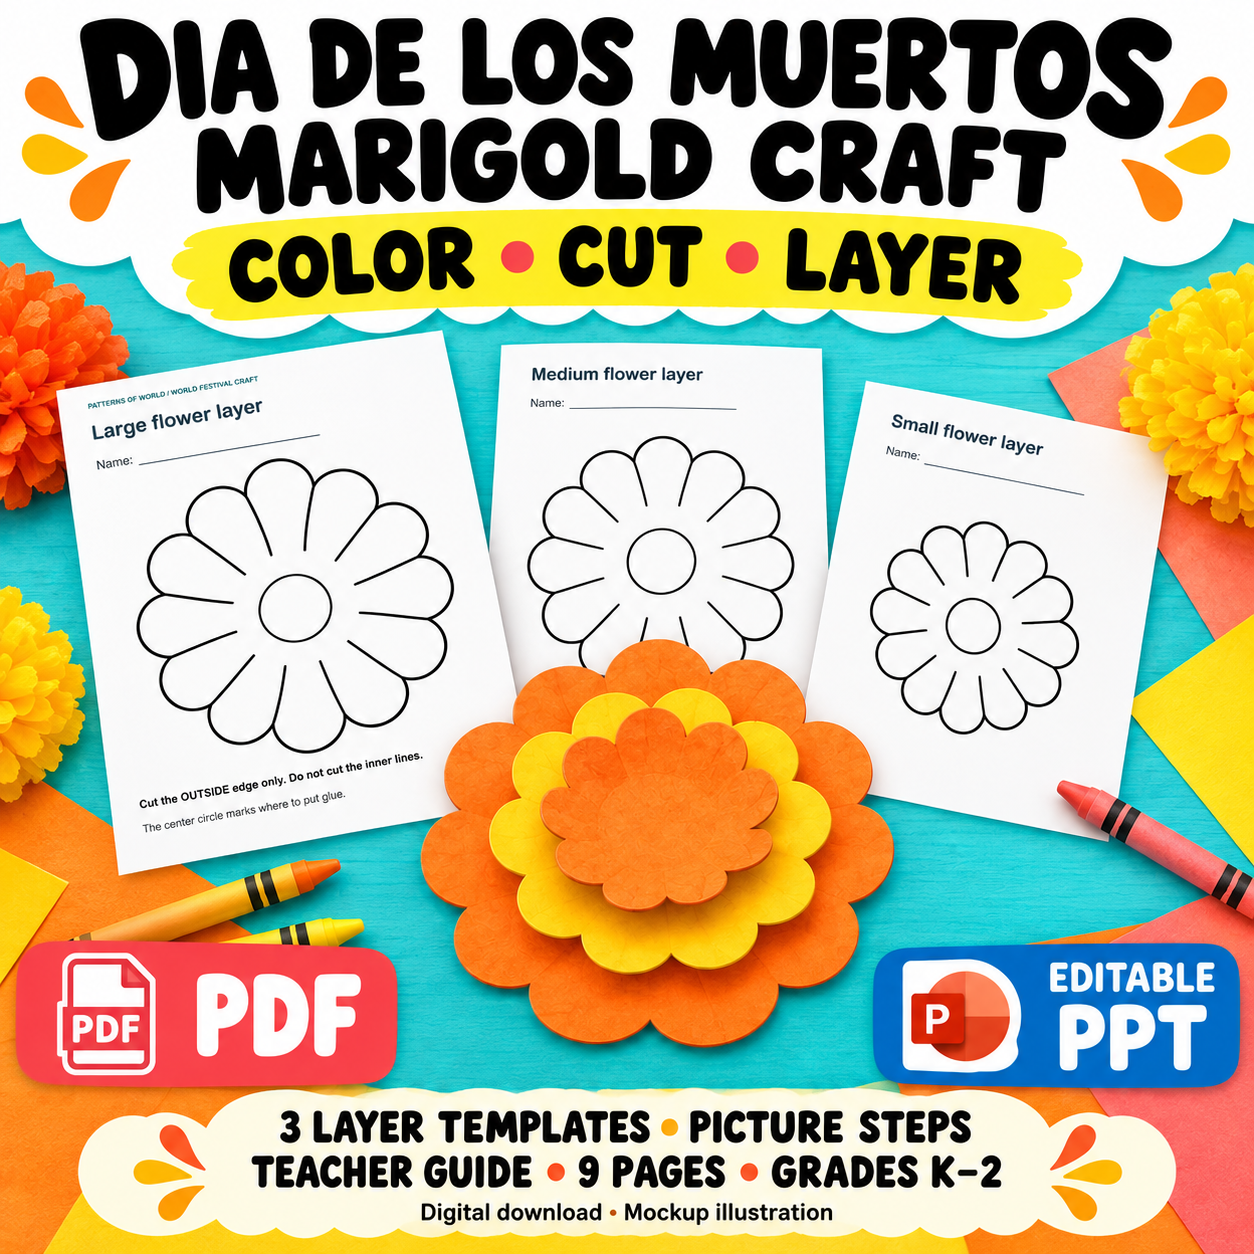
Marigold Layers: A Largest-to-Smallest Math Conversation
Use three paper marigold pieces for a size-ordering conversation before any glue is applied. Children compare large, medium and small, then explain which belongs at the bottom, middle and top. Leave the arrangement movable until the child has checked it.
This adult-led activity suits Kindergarten through Grade 2 with support adjusted to the group. It uses printed layered-flower pieces; it is not a task about counting every petal or measuring a real flower’s growth.
In this guide
Prepare three complete pieces
Print the actual templates and check the one-inch scale line at Actual Size / 100%. Cut around each outside flower outline, keeping the center intact. Adults can pre-cut for children whose main goal is size comparison.
Use one matching set. Mixing pieces printed at different scales makes the intended relationship unreliable. If the files are edited, export and check them again before distributing the activity.
Compare two pieces before ordering three
Put the large and small pieces side by side. Ask which takes up more space and how the child can check. Then overlap the centers so the relative sizes are visible. Keep the language tied to these pieces rather than to an imagined standard size for all flowers.
Add the medium piece and ask where it fits. A child may use pointing or move the pieces instead of saying all three size words immediately. Introduce the words after the comparison is visible.
Distinguish size from position
Large, medium and small describe the pieces relative to one another. Bottom, middle and top describe their positions in this arrangement. Ask a child to place the smallest piece at the bottom briefly. It stays the smallest even though its position changed.
Then rebuild the intended arrangement: largest at the bottom, medium in the middle and smallest on top. Ask what becomes visible or hidden. Children can test the order by looking from above before they explain it.
| Prompt | Possible evidence |
|---|---|
| “Which is larger?” | Align or overlap two pieces |
| “Where does medium fit?” | Compare it with both other pieces |
| “Can you see all three?” | Point to each visible outer layer |
| “What changed when we moved it?” | Explain size stayed while position changed |
Test a proposed order without calling it wrong first
If a child puts the largest piece on top, invite a check: “Can you find the small piece now?” Lift the pieces to inspect what is hidden. The child can revise the arrangement with a reason.
The task is not to prove that every craft must have the same layering. Explain that this template design uses an order that keeps all three sizes visible. Children can discuss another design on separate paper without changing the supplied construction instructions.
Glue only after the explanation
Gently lift the outer petals if appropriate for the paper. Apply a small amount of glue to the centers and align them. Keep petals free enough for the layers to remain distinct. A flat stack is acceptable when bending is difficult.
Ask children to draw the layers or dictate: “The ___ piece is at the ___ because ___.” An explanation about visibility or relative size is sufficient. Do not require precise botanical terminology for a paper construction task.
Connect the model to a respectful flower lesson
This paper model is associated with a marigold craft for Día de los Muertos. Give its cultural context before presenting it only as seasonal decoration. The classroom display guide provides a short introduction and optional participation approach.
Optional templates and picture directions
Dia de los Muertos Marigold Craft: Color, Cut and Layer supplies the three templates within a 9-page English PDF and matching PPTX. The paid resource includes picture steps, a drawing-and-telling page and teacher support. Physical materials are separate. The finished-flower images are illustrations, not photographs proving a physical assembly test; make a sample with your own paper before teaching.