Day of the Dead Marigold Paper Craft: Color, Cut and Layer
A layered paper marigold begins with three flower pieces, arranged from largest to smallest and joined at their centers. Children color, cut the outside outlines, gently lift the outer petals and check the layers from the side. The activity connects observation, size ordering and a short explanation of how a paper model is assembled.
This adult-led guide is for Kindergarten through Grade 2. The optional printable resource includes the matching templates and picture steps. Its finished-flower illustrations show the intended design; they are not photographs of a physically tested classroom sample.
In this guide
- Introduce the flower and its cultural context
- Compare a real flower with the paper model
- Gather materials and test your paper
- Build one flower in four steps
- Look at the actual resource preview
- Invite children to explain a design choice
- Get the matching templates and picture steps
- Questions teachers often ask
Introduce the flower and its cultural context
Explain that marigolds, including flowers called cempasúchil, appear in many Día de los Muertos remembrance traditions in Mexico and other communities. Families and communities celebrate in different ways. A paper flower activity is a brief introduction, not a complete explanation of the holiday.
The Smithsonian’s introduction to Día de los Muertos describes marigolds among the flowers used in remembrance offerings. Read it for context before teaching. Avoid presenting Día de los Muertos as another name for Halloween.
Children may talk only about the flower’s shape and construction. Do not require a personal bereavement story, a statement of family beliefs or participation in a religious practice.
Compare a real flower with the paper model
Look at a safe real flower or an identified image. Ask children to notice the many petals and the overall shape. Then show the paper model: its three cut pieces overlap, but they do not grow or behave like a living plant.
Try “Both have overlapping shapes; what is different?” Accept observations about paper, glue, a stem, soft petals or growth. Make clear whether the flower being shown is real, photographed or illustrated.
Gather materials and test your paper
Prepare US Letter paper or light cardstock, coloring tools, child-safe scissors and a glue stick. Adults supervise cutting and manage materials. Test-print and assemble one sample with the paper you plan to use before the lesson.
Print the supplied PDF at Actual Size / 100%, single-sided, and check the included one-inch scale line. If you edit the PPTX, export and check the pages again. Paper thickness and the amount of glue can change how easily the petals bend and how long the flower needs to dry.
Build one flower in four steps
Color and cut the outside outlines
Color the large, medium and small pieces. Cut around the outside edge of each whole flower shape. Do not cut the inner petal lines or remove the centers. Adults can pre-cut pieces where needed.
Put the pieces in size order
Place the largest piece on the table, the medium piece above it and the smallest piece on top. Before gluing, ask children to show which piece belongs at the bottom and explain how they decided.
Lift gently and join the centers
Gently bend the outer petals upward. Keep the centers available for joining. Add a small amount of glue to the center circles, align the pieces and press the centers together. Avoid coating all the petals: the visible layers are part of the design.
Check from the side and let it dry
Look from the side for the three layers. Put the flower down while the glue dries. It may be displayed flat or attached back-to-back to a display sheet. Do not promise a particular three-dimensional shape before trying your chosen paper.
Look at the actual resource preview
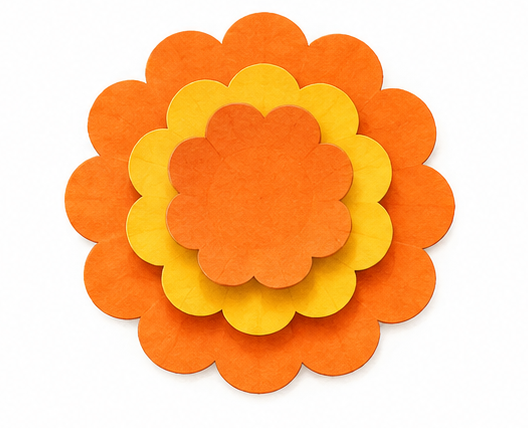
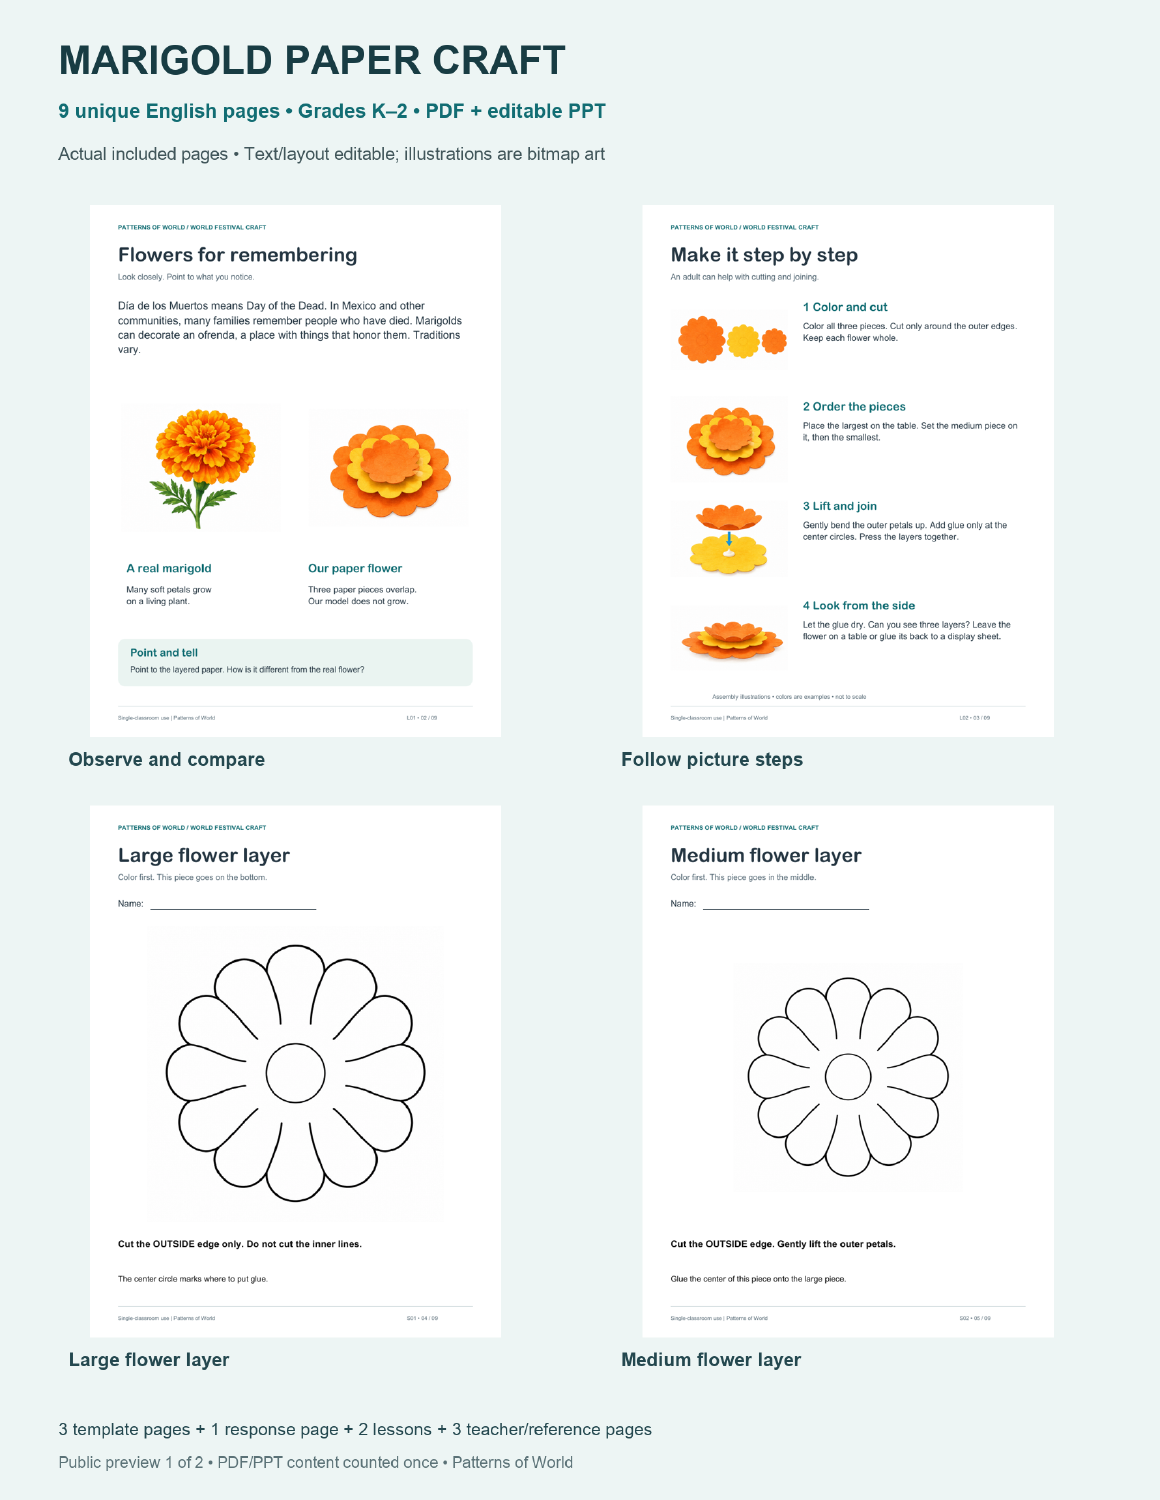
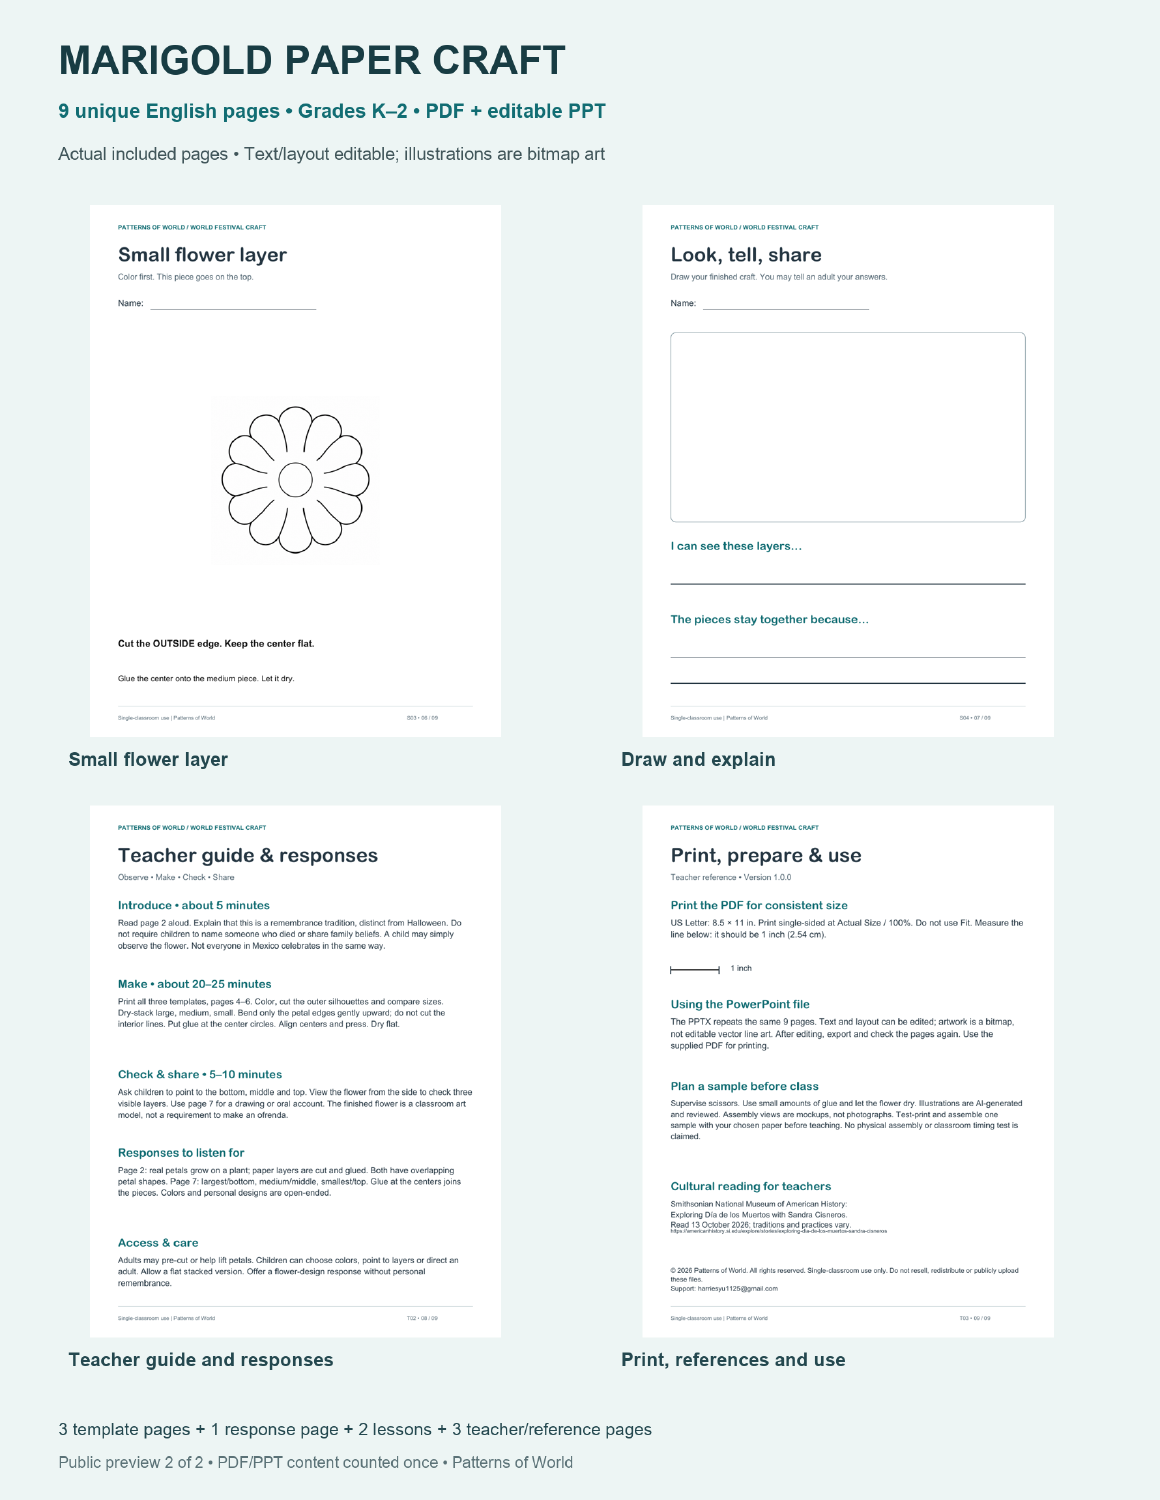
The two overview images below come from the current public Preview PDF. They show the real included lesson pages, template shapes, response page and teacher guidance. Open either image to inspect it at full size. The separate flower illustration shows the intended layered arrangement.
Before teaching, make one sample yourself and adjust cutting support for the children in your group.
Invite children to explain a design choice
Ask children to point to the bottom, middle and top layers. Use the drawing-and-telling page or plain paper to record one statement:
- “The biggest piece is ___.”
- “I can see the middle layer because ___.”
- “The pieces stay together because ___.”
- “Next time I would change ___.”
Children can dictate or point while an adult writes. A flat stacked flower is a valid adaptation. Keep the discussion about the child’s decisions rather than making every flower look identical.
Get the matching templates and picture steps
Dia de los Muertos Marigold Craft: Color, Cut and Layer on TPT contains 9 unique English pages: 3 black-and-white template pages, 1 drawing-and-telling page, 2 lesson pages and 3 teacher/reference pages.
The ZIP includes a nine-page PDF and a matching nine-slide PPTX. They repeat the same content and count once. Text and layout are editable in compatible presentation software; the illustrations are bitmap images. The three templates combine into one flower. Physical materials and video are not included.
Questions teachers often ask
Can younger children participate without cutting?
An adult can pre-cut the pieces. Children can choose colors, order the sizes, direct placement or explain the layers. Match the support to the group.
Do I need tissue paper?
The supplied activity uses printed flower pieces on paper or light cardstock. It is a layered cut-paper design, rather than a tissue-paper folding tutorial.
Is the finished flower a real classroom photograph?
No. The assembly images are AI-generated illustrations reviewed for the resource. Test-print and assemble your own sample before teaching.